Optimize – make the best or most effective use of (a situation, opportunity, or resource).
What’s a life without optimizing it to the best of your ability? Well … struggle. Lets not struggle anymore. There’s tried and true methods for just about everything you can think of. If there wasn’t, happy and successful people would not exist in the world. It’s a mental state, so get it right.
Same goes for web development. An optimized site can lead to faster loading times, which overall translates well in the SEO world. A great way to help this is to make sure you are optimizing images as efficiently as possible. Lets keep the cogs all oiled up nicely people. Think about it … non-optimized images equals large files and ultimately slower loading times. A killer in user experience. But, how much quality can you sacrifice before things degrade to an unrecoverable state? Well images are pretty resilient, to a point, just make sure you’re properly compressing them before uploading to your website.
Enlarge

Marcus Lewis
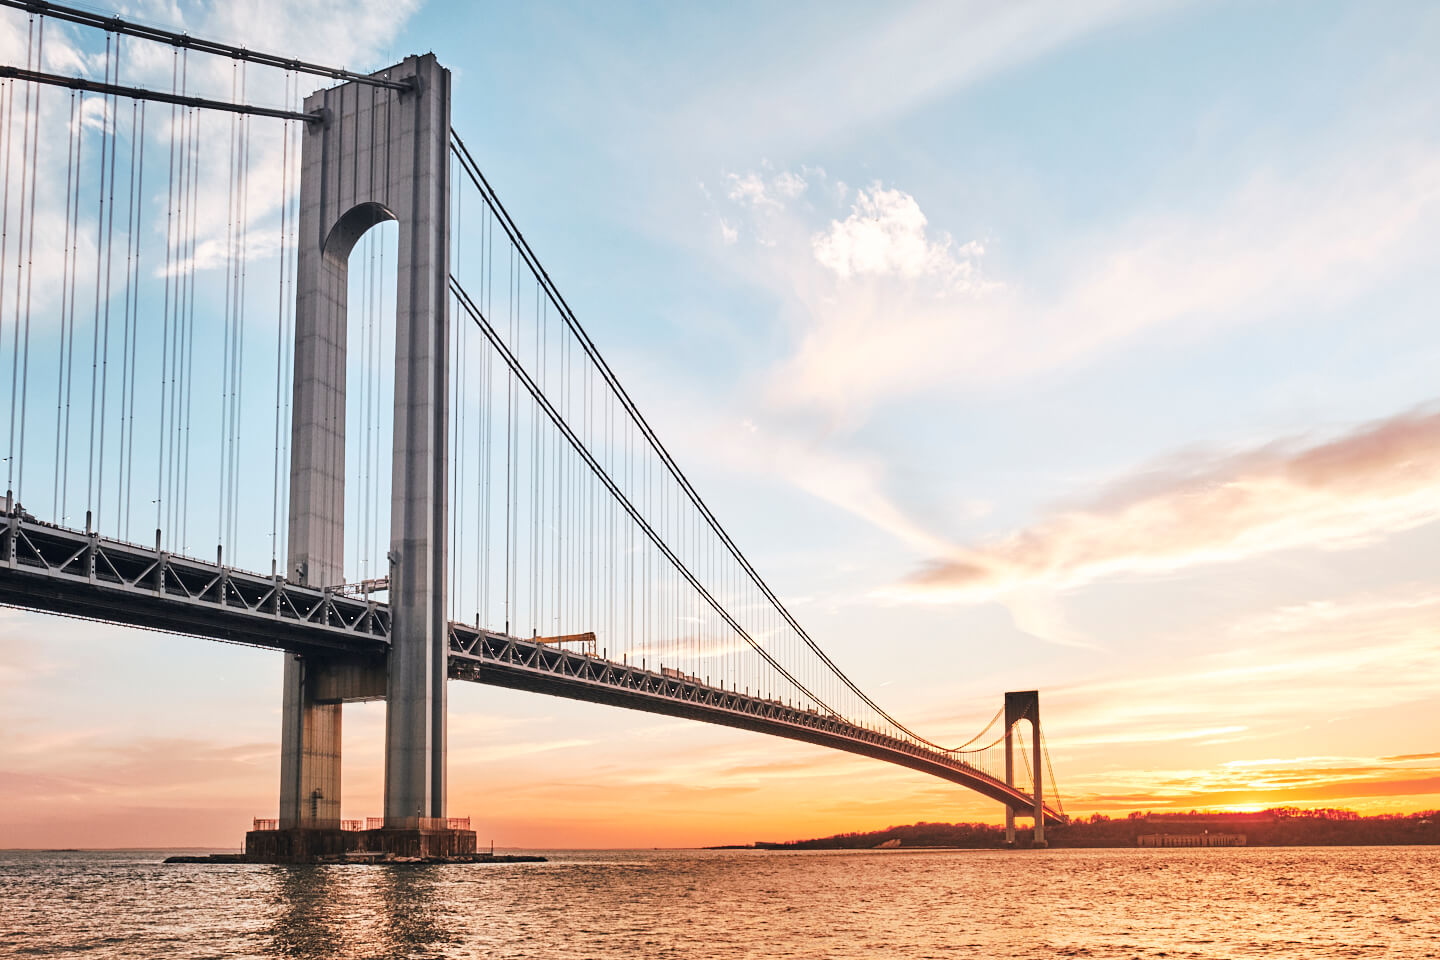
Test Image
Resolution: 72dpi
Dimensions: 1440 x 960PX
File Size: 1.7MB
Using the above image I took of the Verrazano Bridge in New York, we’ll take a look at Photoshop’s Save for Web option (Adobe Illustrator has one now as well), and a great drag and drop option, TinyPNG to optimize our images to best work on the web. I’m always surprised at how well these programs can strip out ton of data without losing insane amounts of quality.
Adobe Photoshop


We have exported images using the Save for Web option in Photoshop with quality set to 100%, 80%, 60%, and 40% respectively. Surprise surprise, not much, if any lose of image quality, but the file size is pretty impressive when we get down to 40%.
File Sizes: 1MB, 448KB, 251KB, 154KB. Crazy right?
TinyPNG


Interestingly, taking the full test image into TinyPNG results in a file size of 204KB compared to Photoshop’s 100% quality version of 1MB. I then took the 100% Photoshop version and threw that into TinyPNG and received a file size of 180KB, this is closest to the 40% version. Now just for kicks, I took the 40% version and TinyPNG popped out a 134KB file. There’s only so much data that can be taken out of a specific image, but these numbers and image quality are very impressive.
Most of the time I will attempt to use a combination of Photoshop and TinyPNG, but that may be overkill for some. Every lil bite counts me thinks.
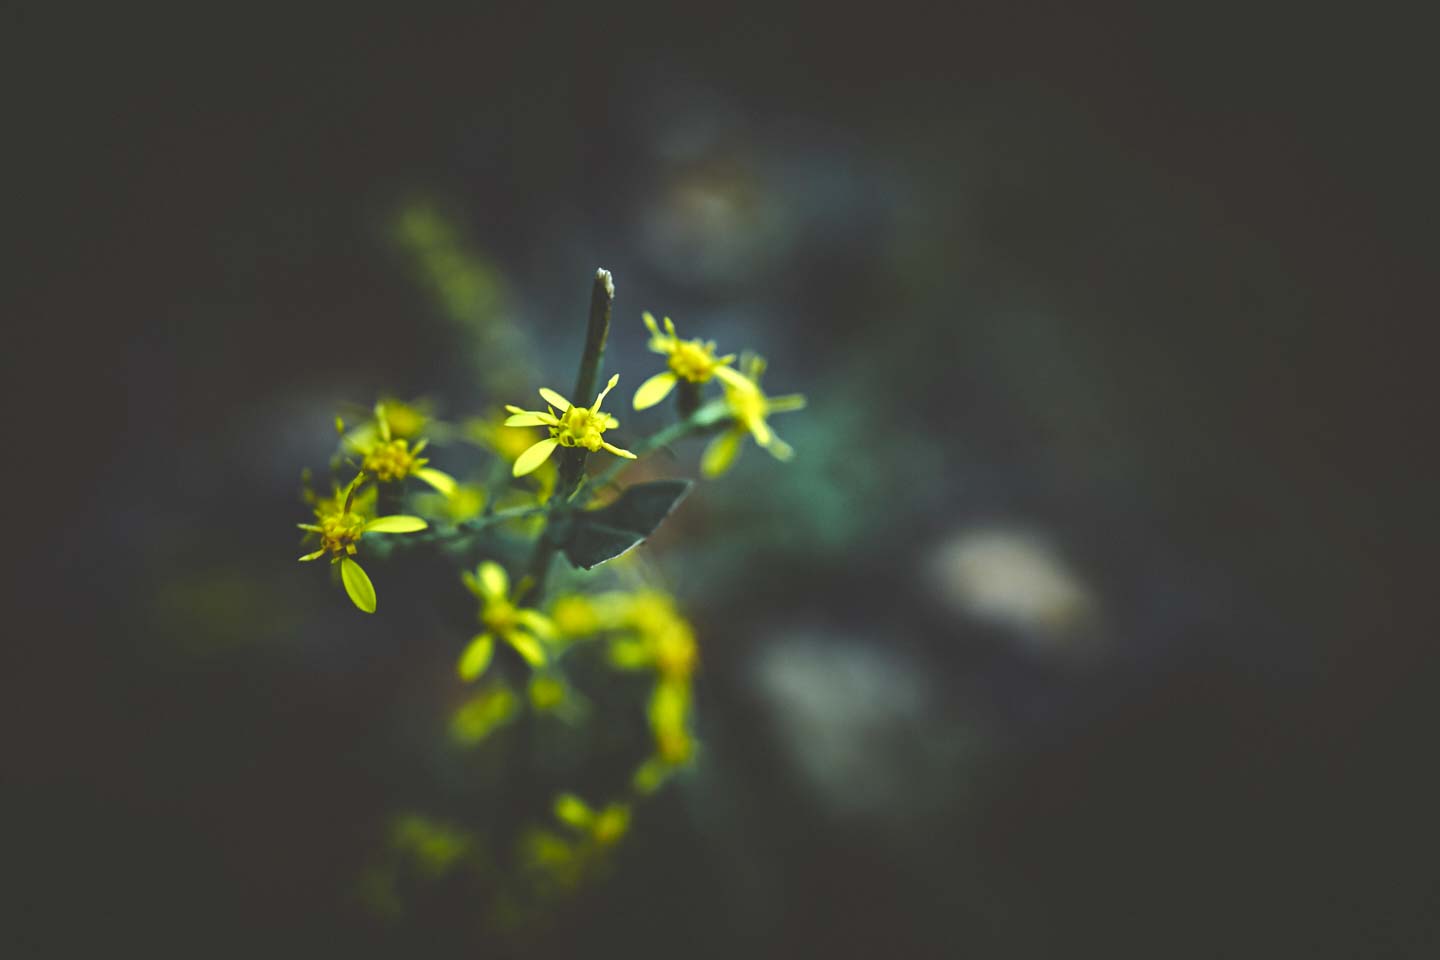
**WARNING**
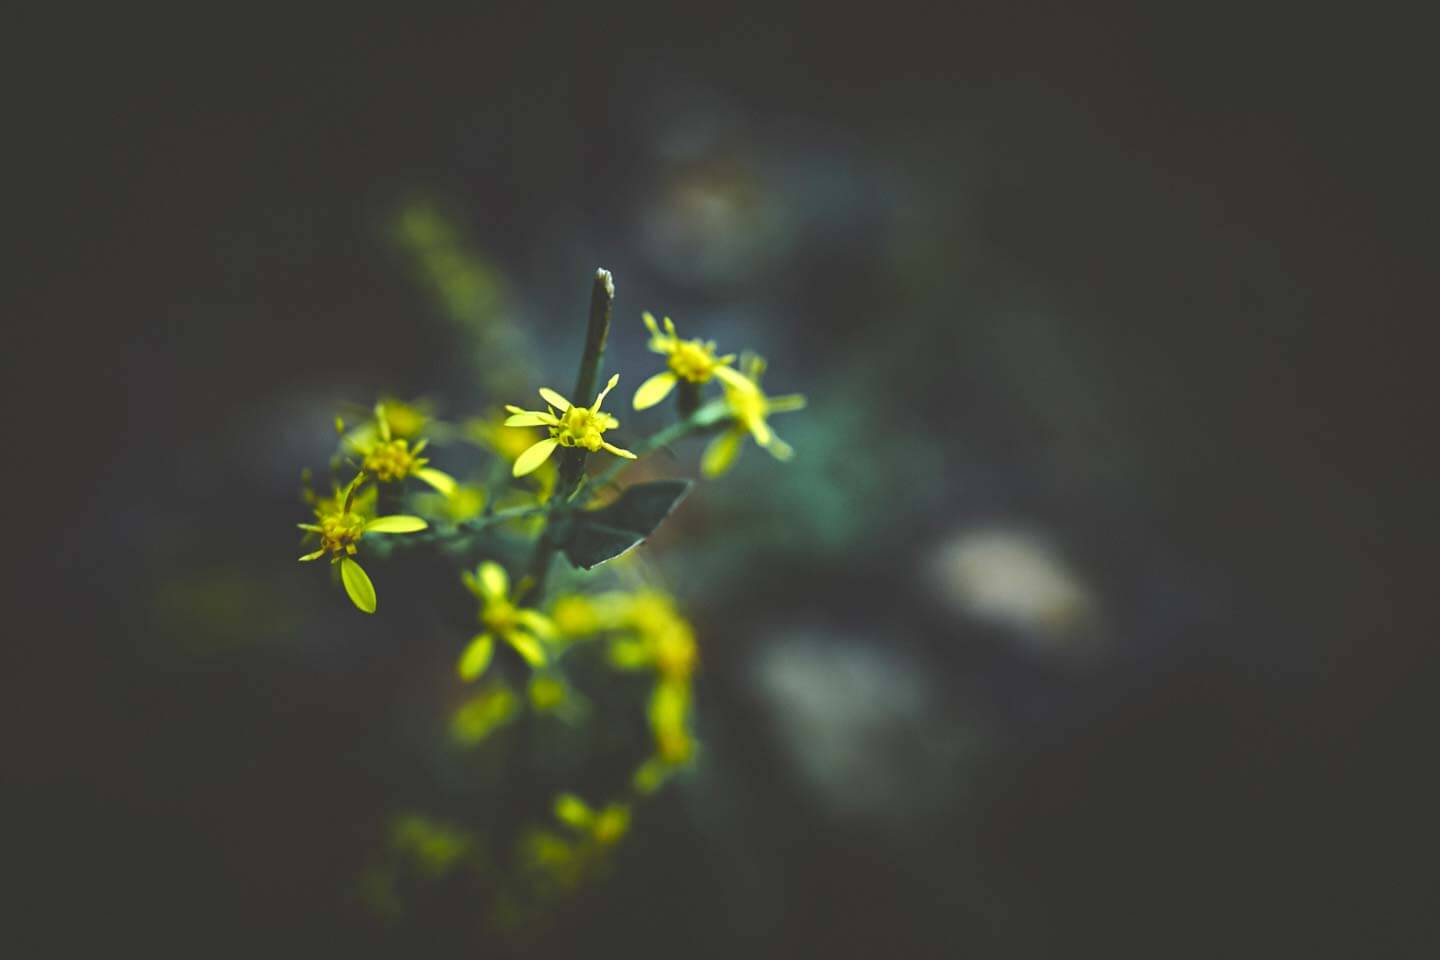
Be careful with images with darker tones, especially gradients. The data removes causes severe color artifacts. See Images below settings Photoshop’s quality to 40%, plus putting that 40% into TinyPNG.
File sizes: 33KB, and 28KB respectively
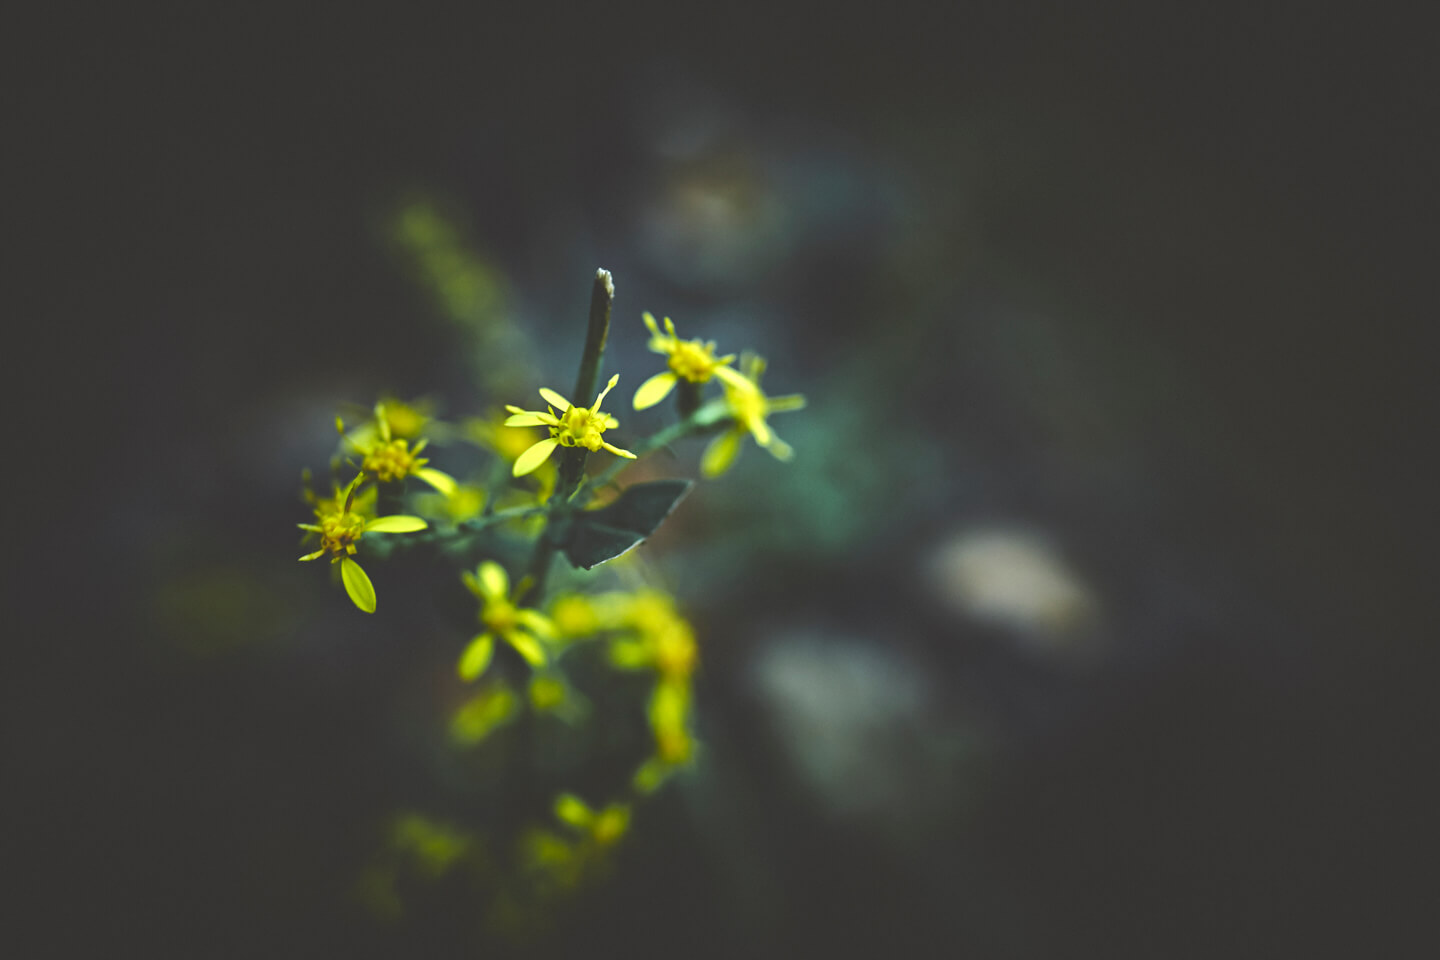
Usually setting these type of images to around 70% in photoshop can get you down to 104KB and keeps the quality really nice. But, I would recommend going straight into TinyPNG to get the best results without losing image quality. You will see file sizes of around 73KB. Check below for the TinyPNG results.
Enlarge
Marcus Lewis
Let us know which tools you use to save some bulk, but hold onto the quality.