So you figured out an end goal. It’s hefty. Larger than you expected, but still motivating, yet scary as all hell. Now what?
Instinctively we get overwhelmed because there’s so much to do, learn, and build. We start freaking out, wondering what we need to learn, who you may need to reach out to, how will you describe your mission? Are they going to love it or hate it? Yay marketing!! But wait, there’s the product or service … I have to start mastering whatever it is I want first, don’t I?!! Where do I begin. Ahhh why can’t this be easy?!?!
Get over that hump as quickly as possible, because great things are never easy to achieve, especially when it comes to chasing your dreams, let alone, being successful at it!
NOTE: But, what is success to you? I recently rambled on about what success may really be, and how we might be going about it all wrong. It could possibly help sift through your thought process if you’re still having trouble finding a definite goal you want to achieve.
Well guys, before your basket starts overflowing with crazy thoughts, theories, to-do-lists, fears, insecurities etc., realize it all starts at step one. That’s it. STEP ONE! We don’t have to start at the end. Boil it down into small bite-sized pieces. Piling those small steps together over time can equal a great recipe for success. You may possibly even lead yourself into larger more refined goals you didn’t know you wanted, or even thought were possible.
Lets write out some steps, shall we? See if we can get out of the habit of talking so much without any action to back it up. We’ll take a look at creating building up our photography goals. We want to becoming a successful photographer, have it pay the bills and all the other fun things in life! But we’re starting from bare bones ground zero, not know much, yet love imagery we find all around the interwebs.
Remember, bite size pieces… Think Big, Build Small!
Goal: Earn over $1,000,000 a year with photography
A relatively large and in charge goal for just starting out right?! Go big of go home they say. It’s the attitude we need though. Think about it. Even if we don’t reach the financial goal, imagine earning just a fraction of that. Better yet, imagine the knowledge we’ll gained along the way. Also, understand that we’ll be earning money doing something we love which is a massive accomplishment in itself. Lets face it, you were just twiddling your thumbs working for someone else or not working at all before this point!
Step 1: Learn Something
First thing you should tell yourself is … forget about making money. That’s the end goal, the big picture. Right now, it’s not important. We need to learn, study, practice, network, then learn even more. Rinse and repeat many times over!
Take your big picture and break it up into small bite size pieces you can easily digest and make progress on. This will help you not get so overwhelmed with many things we’ll need to accomplish along the way.
We have to start somewhere, might as well build small when you do.
Alright so, lets get back to taking steps towards becoming a successful photographer, making a nice $1Mil a year …
a. Learn to Enjoy Yourself
What is photography? Short answer, a means of capturing moments in time you can share as well as reminisce on in the future.
Simple enough right? Ya, of course it is!
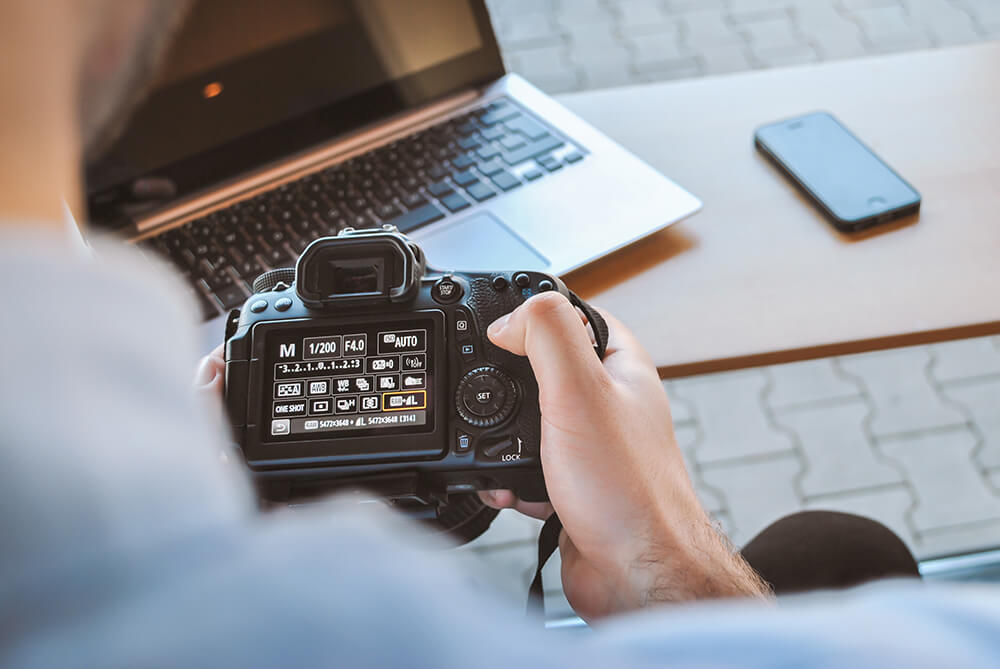
Before we hit any books or watch video tutorials, just pick up the nearest camera you have. It can be a point-and-shoot, your cell phone, or even barrow a camera from a family member / friend. Once you have that, get outside and start taking some photos. It doesn’t matter of what or where, just start clicking the shutter button to record moments. Enjoy yourself, don’t stress over the results.
b. Slowly Learn How to Read EXIF Data
Enlarge
by jeshoots
Ughhh … so technical! Don’t worry, we don’t have to know it all.
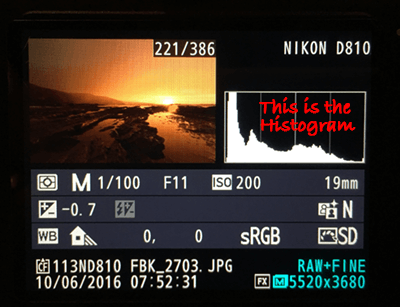
EXIF Data contains all the information from every photograph you take. Date, time, metadata, dimensions, manufacturer, everything. But the most important things to pay attention to are the Shutter Speed, Aperture (f-stop), and ISO. These make up an images exposure settings, also know as the Exposure Triangle.
There’s tons of resources out there with technical explanation on each, but I’ll give quick one liners to help if you get stuck. I’m not very technical. :)
Shutter Speed – How fast your images are being taken. | 1/1000s
Aperture – How much light be allow to hit the camera sensor. | f2.0
ISO – How sensitive the camera image sensor is. | 400
Review these setting when you get back home. After a while you will begin to understand what it takes to capture a “properly exposed” photograph. It’ll become second nature to look at a scene and have a close idea of what settings your camera needs to have.
b. Love the Histogram
Make the histogram you best friend! Even if you don’t have a good grasp on reading light or your EXIF data … Definitely learn to read your histogram. It’s an amazing way to measure if your scene is well balanced in the shadows, mid-tones, and highlights. It’s most important to read whether your shadows or highlights are being clipped.
Matt Krumins
When clipping occurs, there’s no data being recorded to the sensor. It’s either blown out, all white, or pure black. We wont be able to see or recover details from these areas, so make sure to know what works best for you.
If there’s a tough scene with bright highlights and dark shadows, it’s recommended to expose more for your highlights than your shadows. This means, your initial image will be darker in your shadows and almost no blown out areas in your highlights. Recovering (increasing exposure) in your shadows in post processing is much easier than trying trying to pull out details in your highlights.
Each image carries this information, purposefully blow out some photos, under expose some images, see how it all works. Understand how light and your sensor interacts with each other. You might find a nice sweet spot that works well with your style of photography.
c. Editing
Developing your perspective is totally necessary to stand out as a photographer. Coupled with creative edits, if you choose to do so, you will begin to see a consistent style in your images. Do note that editing is not at all required, but play around with it to see if it’s right for you.
Here’s a quick list of photo editing software you might take a look at:
- Capture One Pro
- Adobe CC Photography (comes with Photoshop, Camera RAW, and Lightroom)
- Iridient Digital
Step 2: Projects Practice Projects Practice!
We need to practice, and keep practicing, until we are incredible at our craft. If you already know what type of photographer you want to be, that’s amazing. You can start focusing your practice practice around that specific niche. If you’re still up in the air about your options, just get out there and start shooting something. Figure out what you gravitate towards and make a project out of it.
Product photography and storytelling are a couple of quick project topics you can easily get started on today. We all have own … stuff … use it all for practice. Product photography can be as simple as gather up some of your old items, prepping a space in the corner of your place, then start shooting.
Storytelling can happen everywhere! Hanging out with friends, family events, in your backyard, on the street, in your room, road trips, you name it. Anywhere really! As long as you have a camera on you can sit there and practice telling a story in your photography.
Enlarge

by Alvaro Bernal
Product Photography
Maybe you love a certain brand(s), have a ton of their products, love what they stand for, love how their products look. Boom … clean em up, set up a space in your room or a little corner and start practicing some new concepts. make sure you try multiple different angles, environments, lighting, just be creative. It doesn’t matter how the images come out, they’ll get better along the way. Don’t worry. Just focus on practicing. This will build your creative decision making skills, camera setting start becoming second nature, and you begin to pump out incredible pieces more often than not.
Eventually you’ll be able to save each set to make it easier down the line to put together amazing pitches when approaching companies.
by Aaron Alvarado
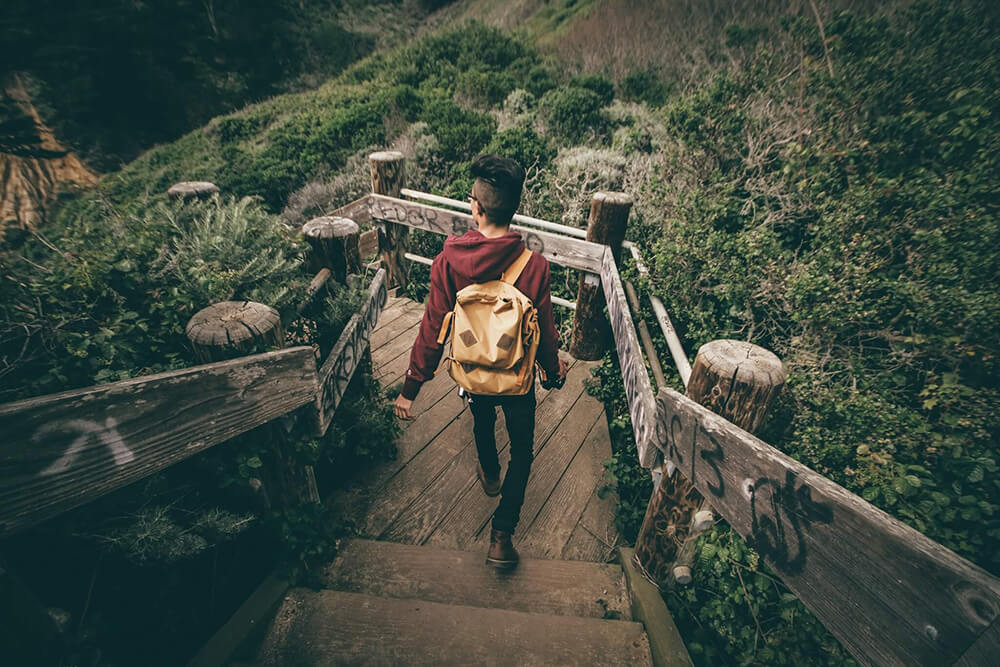
Storytelling – Go on Adventures
Now, this isn’t necessarily a genre or niche, but a great thing to practice. I’m in the process of learning this as well.
People love stories. They love the feeling of being inside of an image or images. If you can begin to build stories within a photograph you’re be on the right track. It’s like seeing someone genuinely smile, you feel that joy … you want that joy.
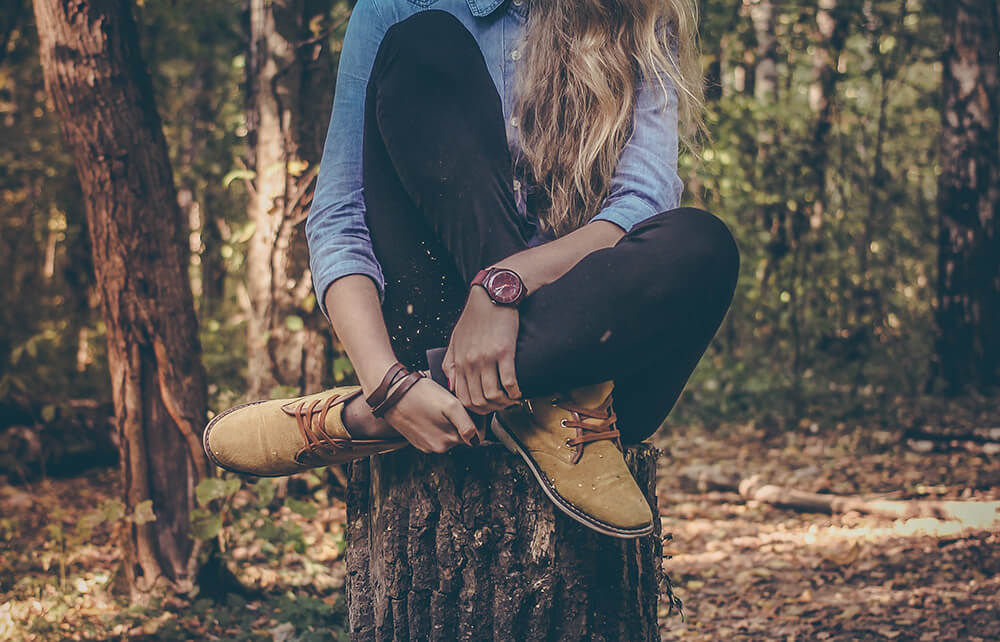
You can first focus on telling a story within a series of images. This will relieve some pressure of instantly needing the perfect place, subject matter, props, lighting etc. Together they help guide your audience through your experiences and adventure.
by Myles Tan
Eventually you will be able to capture moments that provoke conversations and questions that dive deeper into the story behind your photograph. Building a conversation is one of the best things you can strive for as a creative. This all begins with telling a great story.
Take your time and don’t rush this part. Have fun building your skills!
Step 3: Get Organized!
This should be somewhere at the top, but I’ll leave it hear so you can have more fun shooting! Over time you may build a great filing system for yourself.
Alright, you’re starting to see some patterns in you photography style and a nice workflow is building up within your post processing. There’s now dozens and dozens of photos on your hard drive, hopefully, now what?! Well, we have to find a place for them to live, outside the blackhole of a hard drive, but first … it’s time to get organized. If you haven’t done so already, let’s start separating each project into categories. Try to get in the habit of making sure everything is organized early on. You definitely don’t want tens of thousands of photos to organize down the road.
If you’ve been testing the waters so far, we’ll start with several different photo categories. It might be a good idea to generalize top level folders ie. travel photography, landscapes, portraits, macro photography, stock photography, street photography. Doing this will help narrow down where to look for specific projects.
You can even go crazy by starting off with the date and or location of each photo set you create. From there we can break it down into subcategories. If we start with a date and location, sub folders can then be the general genre, to style, or model name, or event etc. The more details we can be in our filing system the easier it’ll be to pin point a specific project whenever needed.
Lets go overboard to see how a folder hierarchy could possibly look for something like Travel Photography.
Jan2017
– Travel Photography
– USA
– NYC
– Jan 1
– Cityscapes
– Jan 5
– Street
– Food
– PA
– Museums
– Landscapes
– Sunsets
– Mountains
– Farms
– Animals
– FL
– Lifestyle Portraits
– Model 1
– Model 2
– Landscapes
Enlarge
Marcus Lewis
You can already begin to see the possibilities. Play around with different ideas, it’ll be worth finding the best solution for yourself. Once you find one, stick with it and make small adjustments refinements over time. You’ll be thanking yourself if you’re ever asked to showcase some winter farm scenes. random I know, but you get the point.
The big downside of being extra details, if you didn’t notice, is the overlapping of photography genres. Yes, you can find specific times, places, people, and subjects, but maybe you wouldn’t want to detail with searching through every folder for all your portraits, or landscapes, or animals. So it’ll be a good idea to really mull it all over to sort out what’s important for you.
Step 4: Your Best Images
Now that we’re all organized and know where each of our photos are, why don’t we start building a portfolio. A more generalized filing system is ideal for portfolio building. Although, your RAW / Hi-Res images can be stored using a detailed system, then export your print or web photos to a generalized system for easy sorting and sharing. Up to you!!
Either way, we have to sort through your best work to share with the world.
Ask yourself a few questions as you go through your images. First and foremost, what type of photography do you want to be known for? It’s ok to be involved with multiple genres, but make sure to display work you want to one day be hired for.
They say dress for the job you want, not the job you have, right? You wouldn’t fill your portfolio site with landscape photography when you want to be a portrait photographer, would you?
You’ll also hear that the size of your portfolio matters. Some say too many photos can sometime have a negative affect. I never fully understood this, but it might have to do with some type of sensory overload? Too much scrolling? Not enough time to “take a breath,” who knows.
Having only a couple images per genre, may not fully convey your style, leading to questions in experience. This is especially true when including multiple photography genres. So we need to find a sweet spot, but it will always weight more on preference. Cause hey, we don’t want to be constraint by another person’s rules.
Personally, I don’t mind scrolling through two or three times the initial “above the fold,” image count. But what does that even mean? I don’t know, I just made it up. Really, as long as the content is good, I’ll keep scrolling through until I get tired. Keep in mind that some lose interest quicker than others.
Step 5: Build an Online Presence
Lets take your portfolio setup and get it online for people to see. A personal website is considered a must-have. It’s where you truly build your brand. It’s where all other accounts you create will link to for people to get to know more about you. Leveraging social media is necessary as well. It can be annoying, but vital in your growth, as it has a built in community system that billions of people use on a daily basis.
We have tons of options these days when it comes to choosing where to display your photographs. Do a bit of research to find out which is the best platform for you. Hiring a web developer is a great option for building a custom made portfolio site. If you’re just interested in something quick and simple to get you going, here are a couple of the more popular DIY options for you.
- WordPress – Has tons of templates and themes available for us to use. It currently powers around 27% of the internet.
- SquareSpace – A fairly newer option geared towards photographers. It has an easy to use drag and drop system, making it simple to get started for beginners and professionals alike.
We’ll also need to take a look at social media accounts you may want to look into, to further spread your web presence.
- Flickr
- 500px
- Tumblr
Once you get the hang of uploading on a regular basis to your social media, you’ll start building up some type of following. Stay involved with your community, it’s a great way to keep people coming back, and more importantly, they’ll start caring about you as a person and not just your pretty pictures.
Being involved in forums is another great way to building friends and a community around you and your brand. Forums are a place to share your knowledge, help others with questions and obstacles they run into, and a place to find inspiration. You’ll be surprised how much value you can find just by allowing like-minded individuals into your life.
Rinse and repeat throughout all your accounts. Each have their own unique way users prefer to browse, so personalize content for each individually. You might lean towards the simple and easy, copy/paste option, but taking that extra time to mold your content to fit each platform will benefit you and your audience tremendously.
To be continued…
Stay tuned for Part 2 where we start looking into ways to making an income.